If you stripped out every minute you spent “killing your darlings” and “editing your video by committee,” how much of last week’s edit was actually creative work? For most creators, the breakdown is uncomfortable since the mechanical work takes more time than the creative decisions do.
According to Adobe’s 2026 Creators’ Toolkit Report, 93% of creators say creative AI helps them produce content faster. The same report notes that 57% say AI outputs still require moderate or extensive editing before they are ready to publish — speed gets you to a first draft, human judgment determines what actually goes live.
This guide covers 10+ video editing tips that apply whether you are editing manually or using an AI video editor, platform-specific tips, a walkthrough of how to execute all of it in ChatCut. Find out the right AI video editing workflow that turns each tip from a time drain into a quick step.
Key Takeaways
-
Pre-edit organization speeds up every editing session. AI tools process everything you give them, so giving them less and better always wins
-
Transcript editing cuts dialogue-heavy content faster than any timeline workflow
-
Filler word removal on a 20-minute recording takes seconds with AI and over an hour manually
-
Agent mode executes a full editing workflow from a single brief; the more specific the brief, the cleaner the output
-
B-roll placement matters more after AI auto-trimming than before it
-
One upload can produce exports for YouTube, TikTok, and Instagram in a single session with AI platform reformatting
Fundamentals of Video Editing
A few core concepts make AI video editing tips in this guide easier to apply. These are the building blocks that AI tools work with, and understanding them helps you evaluate AI output and make faster decisions in the editor.
Cuts vs. transitions

A cut is a direct switch from one clip to the next. A transition adds a visual effect between them like a fade, wipe, or dissolve. AI auto-trimming creates cuts, and transitions are a separate decision you make after. For most short-form content, cuts are the standard. Transitions used sparingly appear professional and polished, and overused transitions read as a beginner edit.
Pacing
Pacing is how long each clip holds on screen and how quickly the overall edit moves. Fast pacing creates energy while slower pacing lets emotion land or builds tension. AI handles mechanical pacing by removing dead air and silence. Whether the edit breathes or rushes, that judgment still belongs to the human editor.
Timeline vs. transcript editing
A timeline is a visual, frame-by-frame editing interface. Transcript editing replaces that with text. The AI transcribes your audio, and you edit the document by deleting words and updating the footage automatically. Timeline editing suits visual-first content; transcript editing suits anything dialogue-driven.
B-roll
B-roll is supplementary footage used to cover cuts in the main video. It keeps the edit visually varied and hides abrupt transitions between clips. After AI auto-trimming creates jump cuts, B-roll is what makes the result feel intentional.
Aspect ratio
Aspect ratio is the width-to-height ratio of your video frame. 16:9 is standard for YouTube and desktop. 9:16 fills the screen on TikTok, Reels, and Shorts. 1:1 suits feed posts on Instagram and LinkedIn. AI reformatting handles the conversion, and knowing your target platform before you start saves an extra export step.
Audio levels
Audio levels refer to the volume balance between dialogue, music, sound effects, and ambient sound. Dialogue should be the clearest and most prominent element. Music sits underneath it without competing. AI audio enhancement adjusts levels automatically. However, knowing what balanced audio sounds like helps you catch when the AI has overcorrected.
10+ Video Editing Tips for Beginners and Professionals
The way a video is edited has a major impact on how viewers experience and understand it. Since the same footage can be turned into very different stories, strong editing techniques remain important regardless of the project. These tips apply whether you are editing your first video or your thousandth:
Tip 1: Organize Before You Edit
Disorganized footage is the most common reason editing sessions run longer than they should. Create separate folders for raw footage, B-roll, audio, graphics, and scene breakdowns before opening your editor. Label everything with a consistent naming convention, including date, scene number, and take number. Delete clearly unusable files before you import anything.
The 80/20 rule applies directly here: roughly 20% of your raw footage ends up in 80% of your final edit. Most of what you shoot does not make the cut. Identifying and pulling your selects before you start editing, rather than during, means you spend your editing time on footage that actually belongs in the video.
The [AI video tool](/blog/ai-video-tools) works through everything in that folder, which is why what you put in matters. Culling bad takes and labeling selects before uploading gives the AI a curated set to work with, and the edits it produces are cleaner from the start.
Tip 2: Edit the Structure Before You Edit the Length
The most common reason a video edit takes longer than expected is that the footage is organized in the order it was recorded instead of the order that serves the story. Trimming chronological footage down to length first and restructuring the narrative second means you do the same work twice.
Define the story structure of your edit before you make a single cut. The simplest order that works across all formats:
-
Hook: the most engaging moment in your footage comes first, regardless of when it was recorded
-
Context: what the viewer needs to understand before the core content lands comes next
-
Core content: the demonstration, explanation, or narrative
-
Resolution or CTA: how the video should end, what happens next, or conclusion comes last
Review your raw footage with this structure in mind, since an AI video tool cannot make this decision for you.
Tip 3: Use Transcript Editing for Dialogue-Heavy Content
For interviews, tutorials, podcasts, and talking-head videos, transcript editing is faster than timeline editing. The principle is straightforward: edit what was said, not what you see on the timeline. Delete what doesn’t add to the narrative and tighten anything that rambles. The video restructures itself as you edit the text.
In ChatCut, transcript editing generates a full text version of your audio automatically. Edit the document and the video updates. Use it any time the spoken word drives the structure of your video. For highly visual content, use transcript editing with timeline for more precise control.
Tip 4: Remove Filler Words and Silences
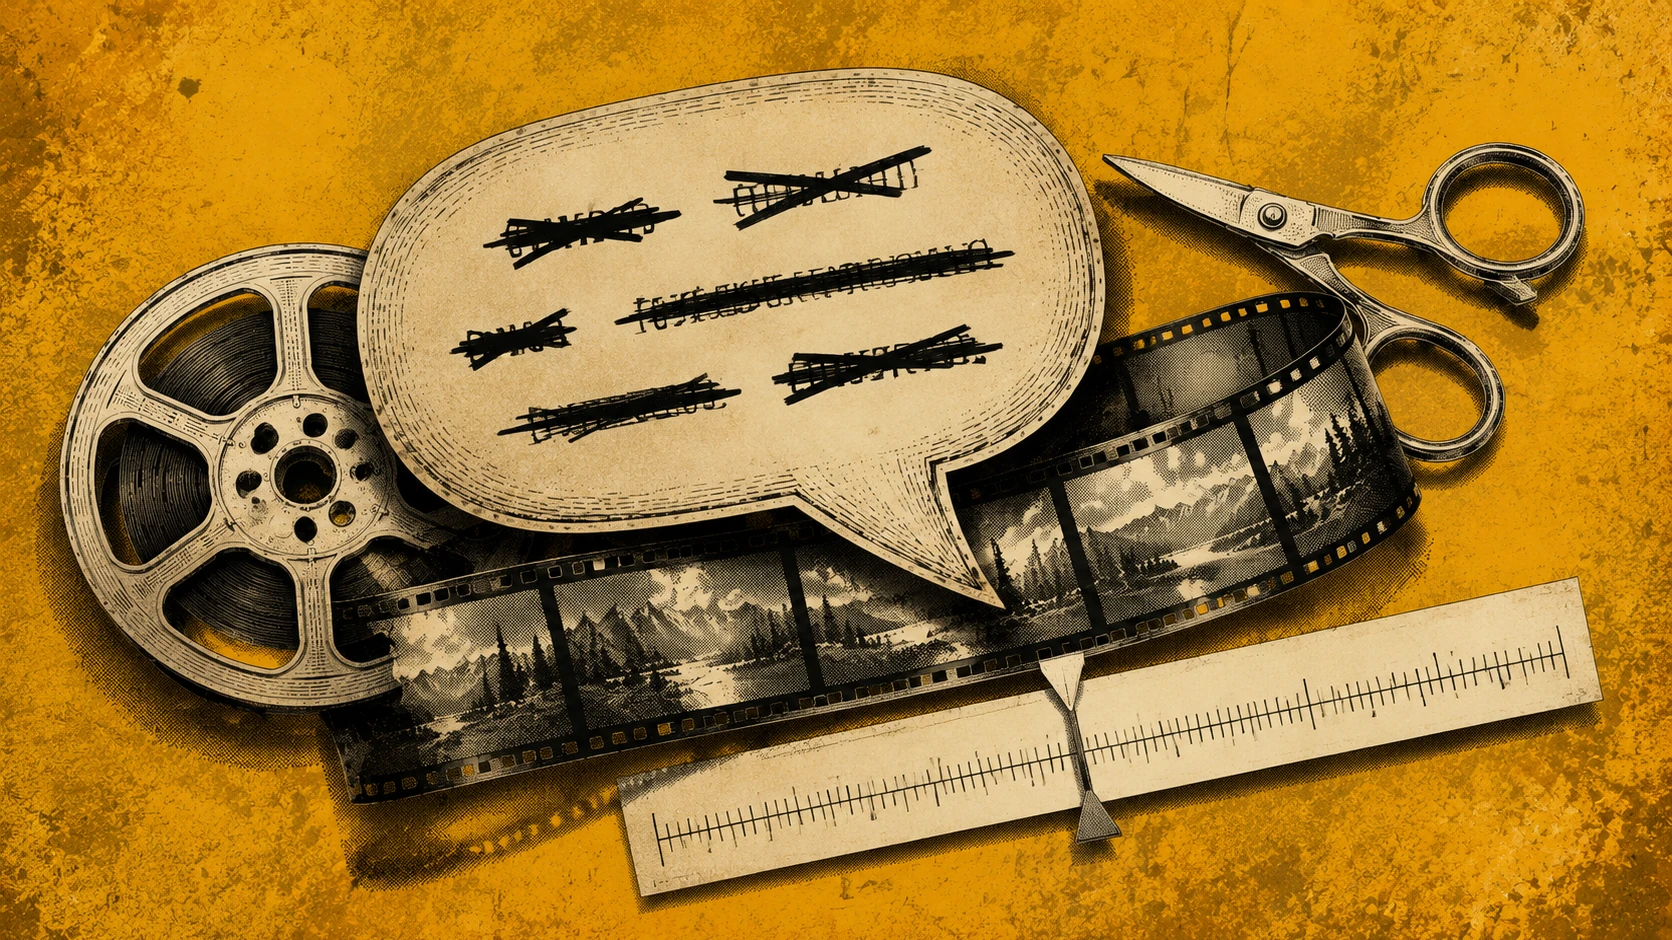
Filler words like “um,” “uh,” “like,” “you know” and long pauses between thoughts are in almost every raw recording. Removing them manually from a 20-minute recording can take over an hour. AI processes the same recording in seconds.
In ChatCut, text-based editing and a single prompt handles the full recording. The result is a tighter, faster edit without any manual scrubbing through the timeline.
Removing every pause strips the edit of its rhythm. Emotional beats, deliberate pauses before a key point, and the natural breath between sentences all serve the pacing. After the AI noise removal, review the edit and restore any silence or pause that was doing actual work.
Tip 5: Create Jump Cuts with AI Auto-Trimming
A jump cut is a direct cut between two moments in the same shot, removing the footage between them. It eliminates dead space and keeps the pace high. On YouTube, TikTok, and social video generally, faster-cut content holds attention longer in the opening second, and jump cuts are the primary tool for achieving that.
AI auto-trimming creates jump cuts by detecting and removing:
-
Silences
-
Repeated takes
-
Low-energy moments across the full recording
The result is a rough jump cut edit without any manual timeline scrubbing.
After the AI delivers the cut:
-
Review the rhythm — a well-paced result feels energetic, not just fast
-
If it feels choppy, restore a few beats of natural pacing or place B-roll over the most abrupt transitions
Tip 6: Place B-Roll Strategically
B-roll matters more after AI trimming than before it. Once the AI has cut your footage to a tight sequence, the visual gaps become obvious. The subject might appear stationary in key moments, the character might look off-screen, or transition might appear awkward. B-roll covers those moments and makes the edit feel thoughtful.
A simple rule: B-roll should be at least as long as the cut it covers, and ideally matches the topic being spoken about at that moment. In ChatCut, you can brief the AI for B-roll matching suggestions based on the transcript content. For original B-roll you have not shot, ChatCut’s image and video generation tools can produce relevant visuals directly from a prompt*.*
Tip 7: Fix Audio Before You Finalize the Edit
Viewers tolerate imperfect visuals far longer than they tolerate bad audio. Background noise, uneven dialogue levels, and music that’s louder than the dialogues are the reasons people stop watching. Fix audio in this order:
-
Remove background noise first. Remove hiss, fan noise, and room tone before anything else.
-
Balance dialogue levels across clips. If you recorded your video across multiple locations or sessions, audio levels will vary between clips. Normalize dialogue before adding music or sound effects.
-
Set music underneath dialogue. Background music should be audible as presence, not as a second voice. The music lowers when dialogue starts and rises when dialogue ends.
Tip 8: Auto-Generate Captions and Review Once
According to SellersCommerce, 85% of mobile videos are viewed without sound. This makes captions a core element of video content. Captions keep viewers watching when audio is off and improve accessibility across every platform. On YouTube, captions also contribute to search indexing.
In ChatCut, captions generate from the transcript with one prompt. Style them for the platform: large centered text performs well on TikTok, bottom-third placement suits YouTube, and high-contrast text is standard for Instagram Reels. Once the AI captions are generated, do one focused review pass before publishing and check for proper nouns, brand names, numbers, and any technical terminology the AI has misread.
Tip 9: Color Grade All Clips at Once

Color grading adjusts the tone, contrast, and color profile of your footage to create a consistent visual style. Footage shot across different locations, times of day, or camera settings will look inconsistent without it, even when the subject and format are the same. Ungraded footage reads as unpolished regardless of how tight the edit is.
ChatCut lets you apply a single LUT (Look-Up Table) across all clips and frames. A LUT maps your footage’s color values to a preset aesthetic such as warm and cinematic, clean and commercial, or dark and moody. The AI video editor applies it consistently across every clip without manual adjustment per shot.
Tip 10: Write a Full Brief for Agent Mode
For recurring content formats, Agent mode eliminates the need to re-enter editing instructions every session. You write one brief and the agent executes the full workflow autonomously.
Write a detailed brief instead of single-sentenced prompts. An effective brief is specific. For example:
“Remove all silences and filler words. Add captions in white, bottom-center, 36pt. Reformat to 9:16. Export at 1080p.”
In ChatCut, agentic video editing requires a brief and handles each step in sequence without manual input between stages. Before exporting, check three things:
-
Caption accuracy on proper nouns
-
Pacing at the start and end of the edit
-
The aspect ratio crop has not cut off important frame elements.
As Adobe’s 2026 Creators’ Toolkit Report notes, 85% of creators believe the final creative decision should always remain with them — even when using an agentic video editor. While Agent mode handles the execution, the review before export is where your judgment comes in.
Tip 11: Use Built-In Presets and Custom Skills
If you produce the same content format regularly, presets and custom skills remove the setup time from every new video. A skill in ChatCut is a saved editing workflow — a sequence of instructions the AI applies automatically to new footage on demand. Default skill presets cover common formats like long video to short, multi clips to reels, storyboarding, and product ad script. You can build your own skills to optimize the AI video editing process.
For branded or recurring content, build a custom skill:
-
Caption style (font, size, position)
-
Color grade or LUT
-
Intro and outro
-
Logo placement
-
Aspect ratio and export settings
Apply it to new footage in one step. Where this saves the most time is on YouTube series, weekly branded posts, and client deliverables where the format is consistent but the footage changes every time.
Tip 12: Export for Multiple Platforms in One Session
Exporting the same video separately for each platform and manually adjusting the aspect ratio each time is a step most editors still do one at a time. AI platform reformatting removes it.
In ChatCut, the AI detects the focal point of each frame and adjusts the crop automatically as it converts between aspect ratios. From one upload, you can export multiple platform-ready versions in a single session.
Platform Aspect ratio Recommended resolution —————– —————— —————————- YouTube 16:9 1080p or 4K TikTok 9:16 1080 x 1920 Instagram Reels 9:16 1080 x 1920 Instagram Feed 1:1 1080 x 1080 LinkedIn 16:9 or 1:1 1080p
AI Video Editing Tips for Social Media
Social media video editing follows the same principles as any video editing.
However, the constraints are just tighter for short-form videos:
-
Shorter attention spans
-
Vertical screens
-
Muted autoplay
-
Platform algorithms that reward specific behaviors mean each platform has its own rules.
TikTok Video Editing Tips
TikTok’s algorithm rewards watch time and completion rate above everything else.
-
Use AI auto-trim to hit your target length, then review pacing manually before publishing
-
The first two seconds determine whether someone scrolls — check the AI’s starting cut and adjust if the hook is slow
-
Captions are not optional on TikTok. According to SellersCommerce, TikTok ad videos with captions get a 95% boost in brand affinity, a 58% increase in recall, and a 25% jump in uniqueness perception. Generate them in ChatCut with one prompt, then review once before publishing
-
Quick jump cuts match TikTok’s native pacing. Let AI auto-trim create them, then check for any moments that feel choppy rather than energetic
For a complete guide on creating TikToks, read how to make TikTok videos.
YouTube Video Editing Tips
YouTube rewards watch time and session duration. Editing style should rivet the viewers, making them stay and watch the whole video from the first second.
-
According to Wistia, engagement drop in the opening seconds reaches 17.3% for 5–10 minute videos, compared to just 4.9% for 1–2 minute videos. The longer your video, the harder the opening has to work. Removing silences and filler words from the first 60 seconds matters more than anywhere else in the edit
-
Use transcript editing to tighten long-form videos without losing narrative flow or accidentally cutting context
-
Batch color correct all clips before cutting — a consistent visual baseline across the full video reads as more professional and keeps viewers engaged
-
Export at 1080p minimum; use 4K if your source footage supports it
For a complete guide on creating short-form YouTube content, read how to make YouTube Shorts.
Instagram Video Editing Tips
Instagram prioritizes Reels in the feed algorithm. Vertical format, strong visual hooks, and readable on-screen text are the primary performance drivers.
-
Reformat to 9:16 with AI aspect ratio tools — vertical fills the screen on mobile and performs significantly better in the Reels tab
-
Position captions in the lower center of the frame for Reels — text near the top gets covered by the UI
-
Keep Reels under 30 seconds for maximum reach — use AI auto-trim to hit the target length, then review pacing manually before publishing
How to Edit Videos in ChatCut
ChatCut is a browser-based AI video generator and editor. It runs entirely in the browser and supports prompt-based editing, transcript editing, and Agent mode in one interface. The core video editing workflow:
-
Upload your video, choose your editing approach
-
Write your AI video prompt or edit your transcript
-
Review the output
-
Export
For recurring content, save a custom skill so the same workflow applies automatically to every new upload. For multi-step edits, use agentic AI video editing with a specific brief and review before you export.
Access ChatCut directly through the website. The editor handles everything from filler word removal and caption generation through to aspect ratio reformatting.
Common Video Editing Mistakes to Avoid
Every video editing tip in this guide comes with a common mistake that undermines it. Here is a single reference list for video mistakes you can fix in editing:
1. Uploading raw footage without culling first.
The AI processes everything in the folder you give it, including bad takes, duplicate clips, and unusable footage. Identify your important clips, delete duplications, and give the AI a curated set to work with.
2. Editing footage in the order it was recorded.
The first thirty seconds of most raw recordings are almost never the right opening for the final video. The strongest moment is usually buried somewhere in the middle. Defining the structure before any edit means every step after it is working towards a story you want to tell.
3. Skipping a transcript review before making cuts.
AI transcription is accurate on clear audio but misreads proper nouns, brand names, technical terms, and fast or accented speech. One review pass before editing takes three minutes and prevents unintended cuts.
4. Treating filler word removal as a finished edit.
Emotional pauses, deliberate breaths before a key point, and the natural rhythm of spoken delivery are not filler. After AI cleanup, review pacing and restore any silence that was doing actual work.
5. Not reviewing pacing after AI auto-trimming.
AI auto-trimming creates the cuts but cannot determine whether the rhythm feels energetic or choppy.. After the AI delivers the jump cut sequence, watch it back and adjust any moment where the pace feels awkward rather than sharp.
6. Placing B-roll before AI trimming.
If the AI adjusts or removes clips after you have added B-roll, the placement becomes misaligned and needs to be redone. Always finalize the underlying cut first, then add B-roll to cover the gaps.
7. Adjusting music volume by feel while playing the full mix.
Music always sounds lower in context than it does in isolation. Set levels relative to your dialogue track, not to how the music sounds on its own.
8. Publishing captions without a review pass.
Caption accuracy is high on clear audio but drops on accents, fast speech, numbers, and uncommon terminology. One review pass catches the errors before the video goes live. It takes a few minutes and saves you the time and effort of redoing the edit.
9. Skipping color grading on short-form content.
Footage shot across different locations, times of day, or camera settings looks inconsistent without color grading, even if it is a 30-second video. Ungraded video looks unpolished regardless of how thorough the edit is.
10. Writing a one-line brief
“Edit this video” gives the AI video editor no criteria and the output reflects it. A specific brief with proper details for style, aspect ratios, and composition is the difference between a usable first-pass edit and one that requires significant manual correction.
11. Building a custom skill and never updating it.
Brand guidelines, caption styles, and platform specifications change. A skill saved six months ago may no longer match current requirements. Review custom skills against any platform or brand changes.
12. Exporting platform versions without reviewing the crop.
AI aspect ratio conversion adjusts the crop automatically, but faces, on-screen text, and logos can still get cut off if the focal point detection is slightly off. Review all exports before publishing, especially for content where framing matters to the visual message.
Ready to Apply These AI Video Editing Tips?
The decisions that define a video — what to keep and how it should feel — take time because they involve judgment AI cannot replicate. The mechanical work surrounding those decisions does not have to take time anymore.
Filler word removal, caption generation, color grading, platform reformatting, these are tasks AI handles in seconds. The time you recover there goes back into the decisions that actually make a video worth watching.
Pick one tip from this guide and apply it to your next project. Build the workflow from there.